Seems as summer is really leaving us, and I am kinda happy about that.
I love Fall time.
I love football games with a chill in the air and the smell of a fire pit in my yard, I love the cute
boots that pop up in every shop in town, but I really love the cooler weather the most.
With the cooler weather coming, I needed to make something to decorate my porch.
I am sure you have seen these Monogrammed Pumpkins everywhere and yes, you can buy them,
but where is the fun in doing that.
I like to make what I can, it just means more to me.
Let's get started on cutting out a monogram on a foam pumpkin
Supplies
Foam pumpkin what ever size you choose
Hot Knife available at Michael's
Monogram template
Brown paint and dry paper towel
Tape the monogram to the pumpkin and make sure that it is very secure.
Before taping try and find the best side and make sure the pumpkin sits flat.

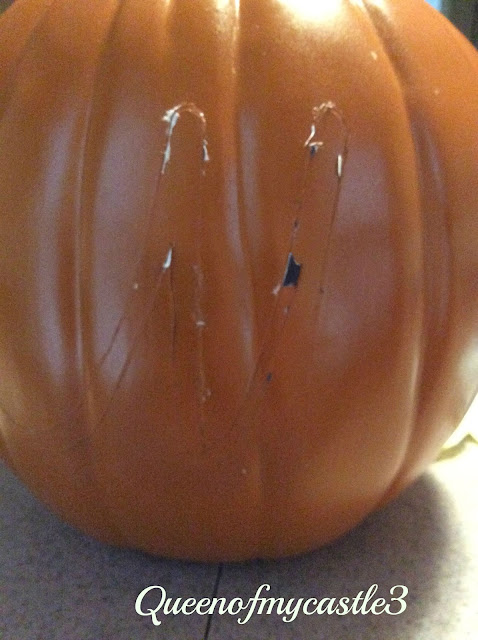
Using the hot knife, cut around the monogram.
CAUTION: This knife is called a HOT Knife for a reason, it gets very HOT and the blade is very sharp! BE CAREFUL!
Cut around entire monogram and you can see the letter on your pumpkin
At this point you will need to go back over the cuts and peel away the pumpkin to reveal your letter.
How cute is this M?
Since these pumpkins are kinda boring I added brown paint to the pumpkin to add a little depth
Just brush paint on and wipe off with a dry towel
Do not use real candles in these types of pumpkins.
Instead use the battery operated tea light candles
Cut a small opening in the back of the pumpkin to put the candle thru.
And now just put on your porch or in your home and enjoy!
This is an easy project and so many options to decorate.
Happy Fall Ya'll!


Post a Comment
Leave a comment below.